Sewing instructions for the Orestina shirt
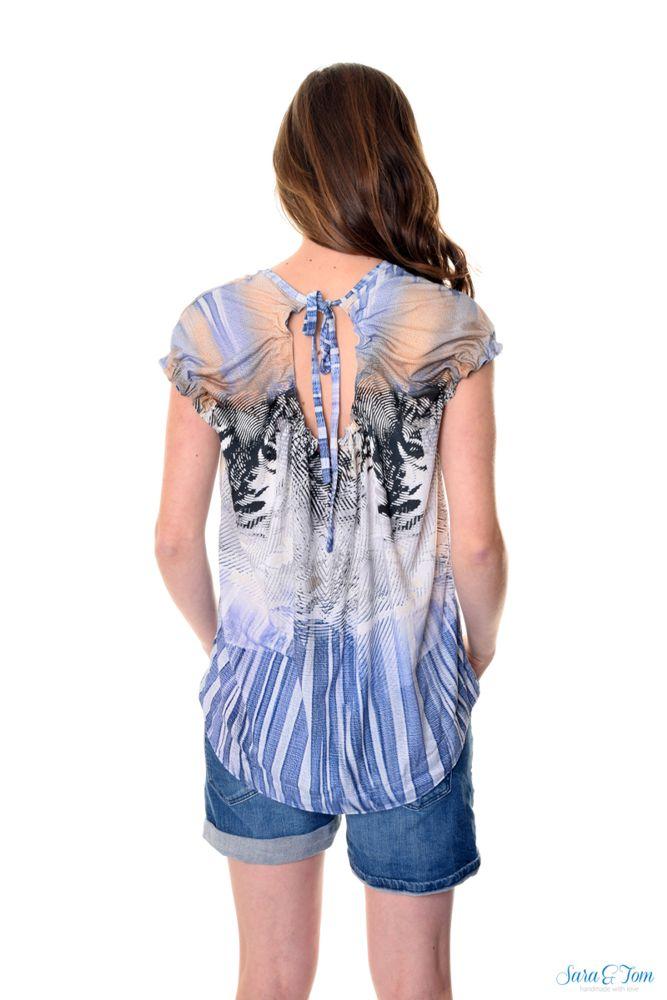
Shirt “Orestina” with the special back neckline was sewn in this example from a viscose jersey.
Cut the pattern pieces out of fabric and transfer the notches from the pattern. The colored clips in the pictures show you where to sew a seam, in addition to the description.
→ To the “Shirt Orestina” pattern
Required materials:
We recommend a jersey.
- Sizes 34-40: Outer fabric 1.10m (140cm wide)
- Sizes 42 -50: Outer fabric 1.70m (140cm wide)
Cutting:
Seam allowances are included - 1cm wide or as per marking clips!

- 1x front part in the fracture
- 1x back part in the fracture
- 1x back cover in the break
- both arm coverings 2x each
- both hem facings 1x each in the break
- 3 elastic bands according to the size chart for the armholes and the back part
- 1 strip for the neckline ties
Sewing instructions
Seam allowances are included - 1cm wide or as per marking clips!
Place the back facing right sides together on the back piece and sew the inner edge. Notch it along the entire curve, just before the seam, turn the facing inside out, and press the seam edge neatly. Stitch this edge close to the edge. Fold the outer edge of the facing inward 1 cm and stitch it close to the edge on the back piece, creating a tunnel.

Using a safety pin, thread the appropriate elastic band into the tunnel. Make sure it doesn't twist. Sew the two ends of the tunnel securely to the elastic band so it can't slip.

Here too, the other end.

Then place the back piece right sides together on the front piece and close the shoulder seams and then the side seams. Place the front armhole facing right sides together on the matching back facing and close the side seam and shoulder seam (red staples).

Pin the facing, right sides together, to the corresponding armhole, ensuring the side and shoulder seams line up exactly, and sew this seam shut. Fold the open edge of the facing inward by 1 cm and stitch it close to the edge to create a tunnel. Leave a small opening so you can thread the elastic through it in the next step.

Use a safety pin to pull the elastic band into the tunnel until you come out the other side. Again, be careful not to twist the elastic.

Sew the two elastic ends together securely, pull them back into the tunnel, and close the opening. This is what your finished drawstring sleeve looks like. Repeat this on the other side.

Place the two hem facings right sides together and sew the short side seams. Now, proceed with the hem exactly the same way as with the arm, except that you don't use elastic. Pin the facing to the hem of the blouse, right sides together, and sew the seam together. Notch the curves up to just before the seam, press the edge neatly, and topstitch it close to the edge.

Here, too, fold the open edge inward by 1 cm and stitch it to the shirt. Now it's time to add the neckline strip and the matching tie. Fold it in half lengthwise, wrong sides together, and iron it.

Turn both ends together to the mark on the pattern where the neckline begins. Lock the seam securely at these two points. Turn both ends right side out and iron them flat. Then pin the strip to the neckline by starting at one of the seam ends that meets the neckline, pinning it from there, right sides together, and ending the same way on the other side. Then sew the strip to the neckline, locking the seam securely at the beginning and end. Press the seam allowance down and stitch it close to the edge on the front piece.

Congratulations, your ORESTINA shirt is finished!

If you are stuck or have any questions, please feel free to contact us by email at info@schnittmuster-berlin.de. We will respond as soon as possible.
Have lots of fun with your new designer piece!
Sincerely, your Schnittmuster-Berlin team.