Sewing instructions for the Pauline jacket
Our Pauline cardigan will delight you on the cooler days of the year, which are sure to return. The cardigan consists of just four seams and a finished hem, making it super easy to sew and incredibly quick. Pauline not only offers a relaxed fit with a deep armhole, but also offers plenty of room for a thick sweater underneath. We layered our thin Lotta turtleneck sweater underneath for the shoot, which perfectly accentuates the oversized look. Three sizes are always combined into one: 34-38, 40-44, 46-50, with a center back length of 81-83 cm.
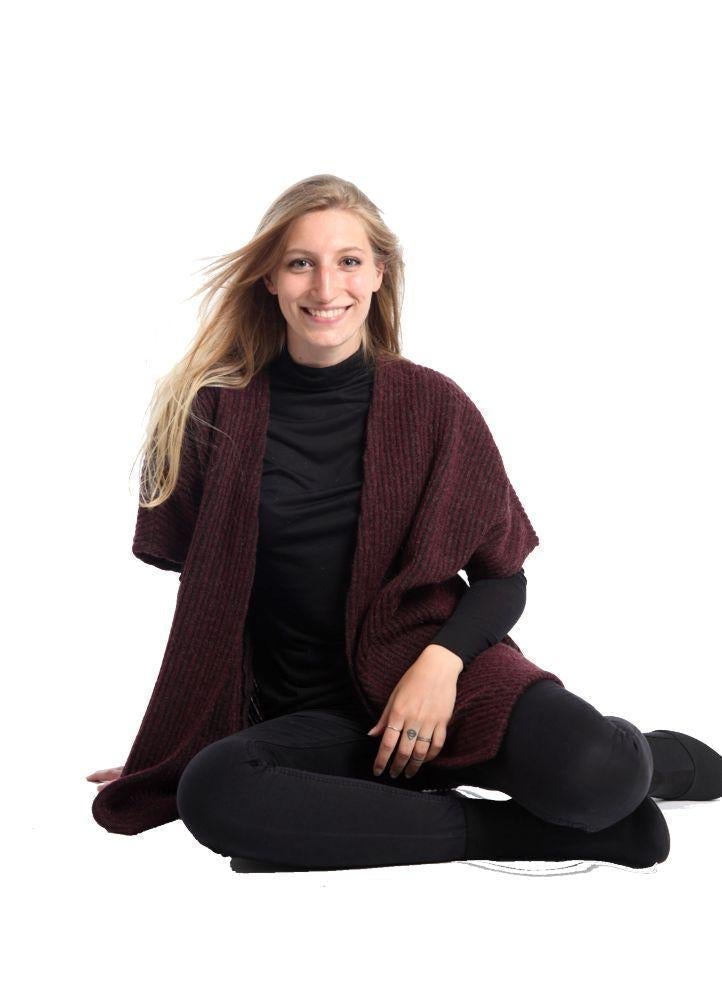
The open jacket Pauline was sewn in this tutorial from a warm knit fabric.
→ To the pattern “Jacket Pauline”
Required materials:
We recommend a thicker knit or a soft woolen fabric.
| Size 34-44 | Outer fabric | 1.70 m | 140 cm wide |
| Size 46-50 | Outer fabric | 1.80 m | 140 cm wide |
| Size 34-50 | cotton ribbon | 0.30 m | 0.5 cm wide |
Cutting:
Seam allowances are included - 1cm wide or as per marking clips!
 Cut the pattern pieces out of fabric and transfer the notches from the pattern. The colored clips in the pictures show you where to sew a seam, in addition to the description.
You need:
- 1x front part opposite
- 1x back part in the fracture
- 1 piece of ribbon (here grosgrain ribbon)
Sewing instructions:
Seam allowances are included - 1cm wide or as per marking clips!
Depending on your fabric choice, it may be advisable to finish the entire edges of the front and back pieces before sewing. A regular sewing machine is recommended for sewing the jacket, as this allows for easier seam placement.
Place the two front pieces right sides together on the back piece and close both the long shoulder seams and the side seams.

Iron the seams apart. At the marked points near the cuffs, you'll see that the seams lie nicely flat after turning the hem.
Iron the hem of the cuff 2cm inwards and stitch it all the way around.

This is what your cuff now looks like. Repeat on the other side.

Before you can hem the jacket all the way around, you'll need to prepare the two bottom corners like "letter corners." To do this, fold the bottom edge of the jacket at one corner, right sides together, onto the front edge so that they line up exactly. Sew a vertical seam to the folded edge about 3 cm from the corner. Bar tack the seam at the beginning and end.

Trim the excess tip to the seam allowance and iron it apart.

Turn the corner right side out and you'll have a beautiful letter corner. Iron it out again and repeat on the other side.

Starting from the corners, iron the hem of the entire outer edge 2cm inwards and stitch it in place.

To stabilize the jacket, sew a shaping band onto the back collar. To do this, fold one open side inward 1 cm and begin stitching the band from the shoulder seam to just before the other shoulder seam. Fold the open edge inward again 1 cm and secure the seam at the end.

This is what it looks like.

Congratulations, your PAULINE jacket is finished!

If you're stuck or have any questions, please email us at info@schnittmuster-berlin.de. We'll respond as soon as possible.
Have lots of fun with your new designer piece!
Sincerely, your Schnittmuster-Berlin team.