Sewing instructions beach dress Sarah
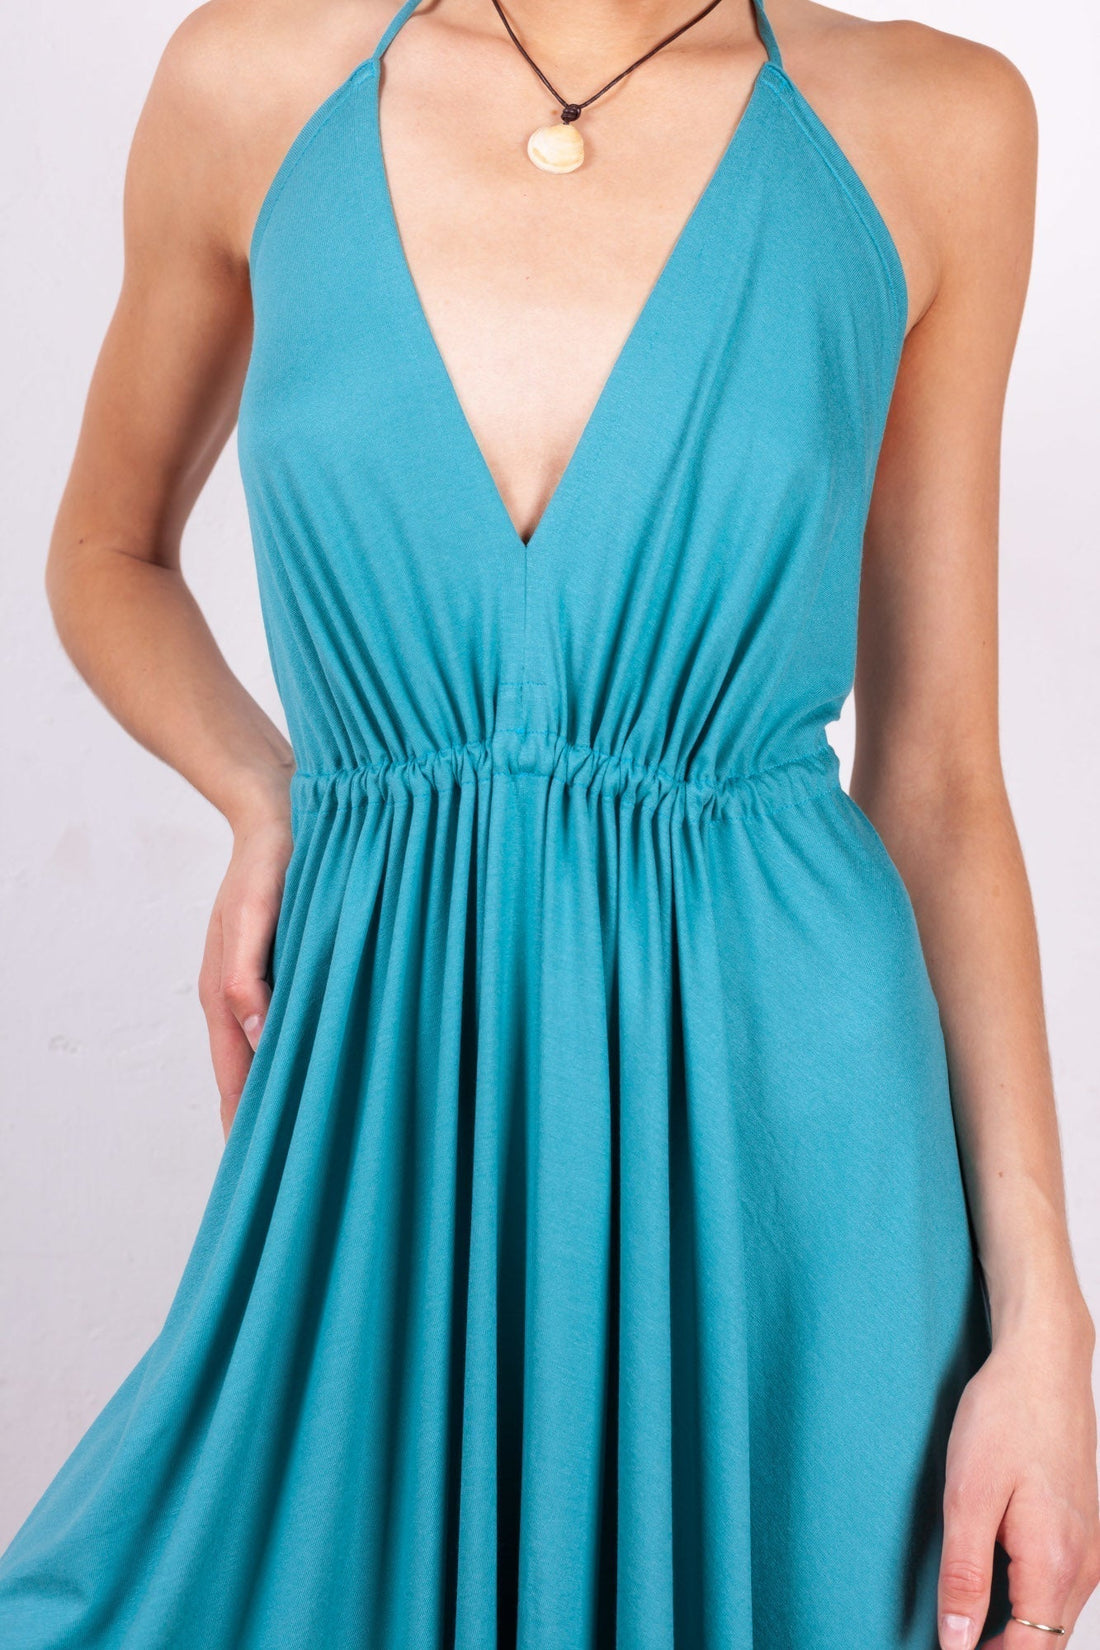
An unusual pattern construction forms the basis of this beautiful beach dress . The frilled hem is created by the square pattern. You can also create a rounded hem using a drawn line. The plunging front neckline and open back are perfect for hot summer days.
Length from strap attachment to hem = 90 cm
Sarah was sewn from jersey in this tutorial.
Required materials:
We recommend a flowing jersey. Make sure you use a fully dyed fabric, not a printed one, for example. Otherwise, the uneven hem length will result in a white underside showing from the outside.
| Size 34-42 | Outer fabric plain | 1.90 m | 140 cm wide |
Cutting:
Seam allowances are included - 1cm wide or as per marking clips!
Cut the pattern pieces from your outer fabric . Place the pattern pieces with the lettering facing up. Always align the grain arrow on all pieces in the same direction and parallel to the selvedge of the fabric. Transfer all notches from the pattern by making a 3mm cut with scissors or chalk. Drill holes define the positions of darts, pockets, or the tunnel on the wrong side of the fabric. Transfer these with chalk or pins. 
 You will need fabric:
- 2x front/back parts opposite
- 2x carriers
- 1x tunnel
- 1x waistband
Sewing instructions:
Seam allowances are including - 1cm wide or as marked
To sew this dress you will need a sewing machine and an overlock sewing machine, or alternatively the zigzag stitch on your sewing machine to neaten the cut edges.
Be sure to use a jersey needle and a stretchy stitch. This means that if you're using a home sewing machine, you should use either a zigzag stitch or a three-part stretch stitch. Then, finish all seam allowances with a zigzag stitch or another suitable stitch to prevent fraying. If you're using a seam zipper, you'll also need the appropriate presser foot for your sewing machine. The colored lines in the images show you, in addition to the description, where to sew or glue a seam.
When sewing, pay attention to the seam allowance included in the pattern. Seam allowances not specifically marked are 1cm wide!
Have fun sewing!  First, neaten the raw edges on the right side of the fabric. Start at the bottom slit at the center front, following the yellow line as shown in the photo, and finish at the slit at the center back. Work on both pieces, paying attention to the right and wrong sides. If you don't want the points of the rectangle to be so pointed, you can round them off as shown in the pattern.
  Once everything has been neatly finished, the back and front slits can now be worked on. To do this, iron the raw edge twice (1 cm each). Make sure to uniron the back slit first, then enclose it with the front edge. This will create a small opening for our straps later.
  Now both the front and back centres are closed with 1cm and the seam allowances are ironed apart.
 Only now are the ironed slits topstitched all the way around, close to the edge. You should start and end at the center back. The second photo shows you how it should look the same on both the front and back, so everything looks neat.
 Both straps are stitched right sides together along the fold with a 1cm seam allowance and then pulled through. (There's also a video here showing how to work a pulled-through roll.)
  When we topstitched the front and back slits close to the edge, a small opening remained. We'll now use this to insert our rolled-up strap and secure it with a rectangle all around. The waistband is also stitched right sides together along the fold with a 1.5cm seam allowance and then pulled through. (There's also a video here showing how to work a pulled-through roll.)
  The cut edges of the tunnel on the right and left outside are neatened, ironed over 2cm and stitched through with 1.5cm.
  The long sides of the tunnel can now be ironed over 1cm each.
The tunnel isn't visible from the outside, which means it was stitched on from the inside, i.e. the wrong side of the fabric. The ironed tunnel is now pinned to our drill hole markings (from the inside) and stitched through close to the edge. It ends, as shown in the photo, at the back edge. Make sure you mark the position of the tunnel in the pattern with two notches, or measure the distance in your pattern with a tape measure, as the notches will have disappeared during previous processing. Because the fabric of the tunnel was cut straight and not on a bias, the lower section needs to be stretched slightly during sewing, and the upper section needs to be held somewhat. This actually works very well because our fabric is jersey.  This is what the drawstring should look like from the inside back.
  Next, the prepared waistband is threaded through the tunnel with a safety pin. The ribbon can now be cut to the desired size and secured with beads and a knot.
Your SARAH is ready !
If you're stuck or have any questions, please email us at info@schn ittmuster-berlin.de. We'll respond as soon as possible.
Have lots of fun with your new designer piece!
Sincerely, your pattern team