
Cut:
Cut out the pattern pieces from your outer fabric. Place the fabric right side up. Align the selvedges parallel to the center so you can fold the back and back waistband pieces in half. All pattern pieces should be laid with the printed side facing up. Always align the grainline arrow in the same direction on all pieces, parallel to the selvedge of the fabric. Transfer all notches from the pattern by making a 3mm snip with scissors or using chalk. Snip the seam allowance on the fold, as this is always the center point. Markings define the positions of dart ends, pocket positions, etc. Transfer these either with chalk or pins.


You will need the following fabric:
- 1x back piece in half
- 1x Bund-rear in the break
- 2x Bund-front opposite
- 2x front part, mirror image
- 2x aperture opposite
- 2x sleeves, mirrored
- 2x sleeve cuff
Sewing instructions:
Seam allowances are including - 1cm wide or as marked
To sew this jacket you will need a sewing machine and an overlock sewing machine, or alternatively the zigzag stitch of your sewing machine to finish the cut edges.
Be sure to use a jersey needle and a stretch stitch. If you're using a domestic sewing machine, you should use either a zigzag stitch or a three-step elastic stitch. Afterwards, finish all seam allowances with a zigzag stitch or another suitable stitch to prevent fraying. The colored lines in the pictures, in addition to the written description, show you where to sew a seam or glue something.
When sewing, pay attention to the seam allowance included in the pattern. Seam allowances not specifically marked are 1 cm wide!
Have fun sewing!

We begin with the back piece and the two front pieces. Place the front pieces right sides together on the back piece and sew the shoulder seams on both sides. Finish the seam allowances together and then press them towards the back.

Next, unfold the sewn piece so you can attach the sleeves while it's open. Place the sleeves right sides together at the armhole and sew them together. Finish the seam allowances together and press them upwards towards the front or back piece.

You sew the inner armhole and side seams in one go. To do this, place the front piece right sides together with the back piece and fold the sleeve in half so that the sleeve seams are also right sides together. Pin the side seam and inner armhole seam together and sew them in one continuous seam. Finish the seam allowances together and press them towards the back.

Now let's move on to the sleeve cuffs. These are prepared by ironing them folded over. Then unfold the fold, place the cuff right sides together, and sew the cuff seam. Press the seam allowances open.

The cuff is turned inside out so that the right side is facing outwards and the inner and outer parts are aligned. Finally, we recommend sewing a basting stitch (approx. 0.5 cm wide). This prevents additional stretching, especially with knitted fabrics, and keeps the cuff from slipping when attached to the sleeve.
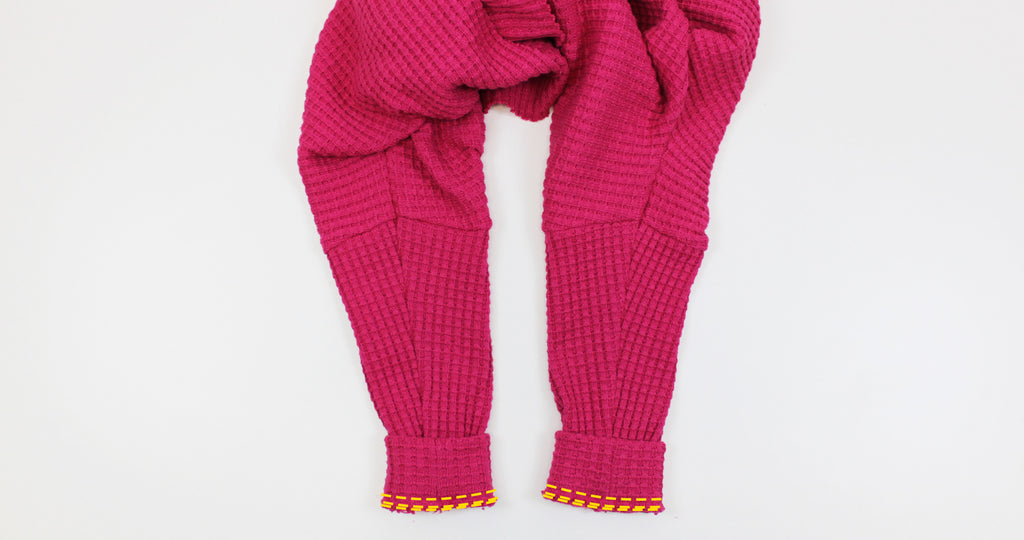
Now you can sew the sleeve cuffs to the finished sleeves, right sides together. To do this, insert the cuff into the sleeve. Make sure that the seam of the cuff and the seam of the sleeve are aligned. Finish the seam allowances together and press them towards the sleeve.

Now take the hem band of the back piece and the pieces of the front piece. Place these right sides together and sew the side seam. Press the seam allowances open and press the hem band in half, wrong sides together.

The hem band also gets a support seam to prevent it from stretching out and to make it easier to attach to the front and back pieces.

The prepared hem band is pinned to the front and back pieces. Make sure the side seams of the body and waistband meet. While sewing, you'll notice that the jacket has a little extra ease. Maintain this ease while sewing and distribute it evenly along the seam lines. Finish the seam allowances together and press them upwards.

Sew the back center of the facing together and press the seam allowances open. Then press the facing in half, wrong sides together.

The folded edges are turned back at the short ends so that the facing can be turned right side out and pressed flat. Turn the facing right side out again and press flat. These are the hemmed ends from the front edge.

The facing also gets a support seam to prevent it from stretching out and to make it easier to attach to the front piece.

Finally, the prepared facing is pinned to the front piece. Make sure that the center back of the facing is aligned with the notch on the back piece. Now, sew the facing to the front piece, right sides together. Finish the seam allowances together and press them towards the side seam.

To further secure the seam allowance of the facing, we recommend you make a seam one presser foot width through the front piece and seam allowance.
Your LAURA is finished!
If you get stuck or have any questions, please feel free to contact us by email at info@schnittmuster-berlin.de. We will reply as soon as possible.
Have lots of fun with your new designer piece!
Sincerely, your Schnittmuster-Berlin team.