Sewing instructions for the Undine transitional coat
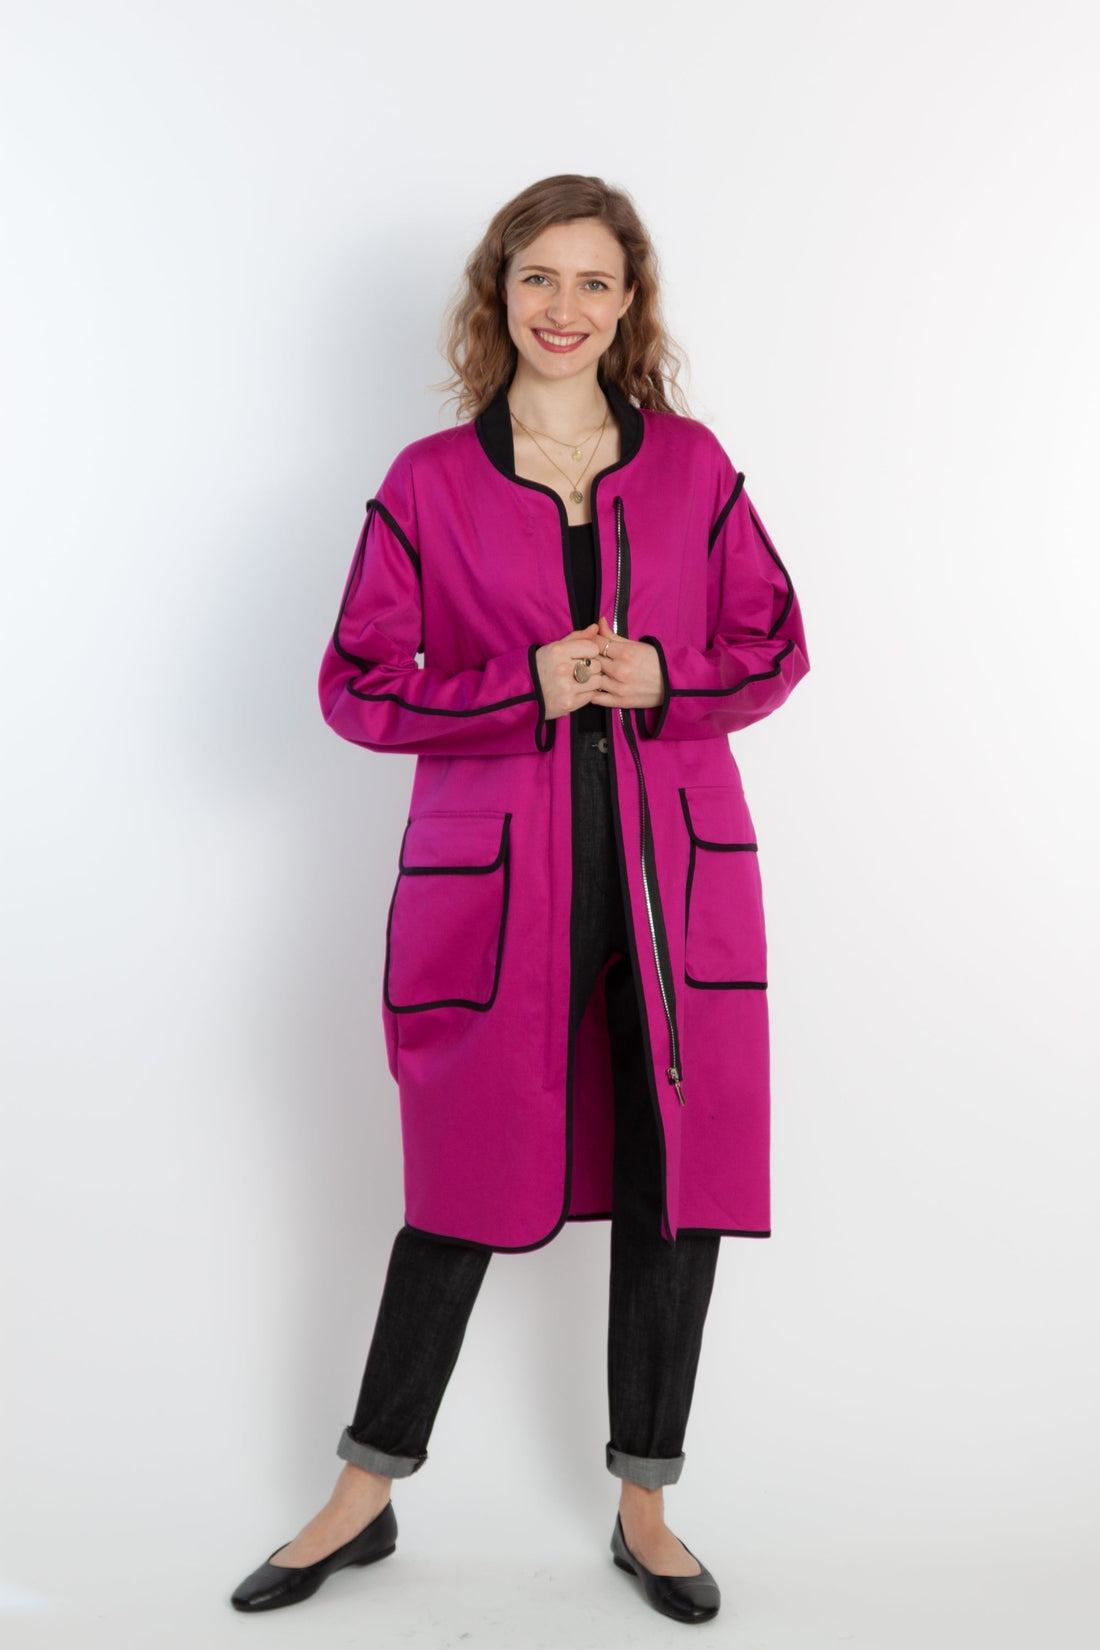
This unlined transitional coat features striking edging along the edges. In a contrasting color, this looks particularly striking, and the seams don't require finishing. The understitched knit collar allows you to sew Undine with or without a collar. The exposed pockets are also trimmed, and the zipper is topstitched or understitched. Our coat in white patent leather shows that you can also sew Undine with the seams facing inward.
Length at the center back = 99 - 101 cm
In this tutorial, Undine was sewn from a sturdy cotton fabric.
Required materials:
We recommend a cotton, suede or light quilted fabric.
| Sizes 34-42 | Outer fabric | 2.00 m | 140 cm wide |
| Sizes 44-50 | Outer fabric | 2.40 m | 140 cm wide |
| Sizes 34-50 | knitted cuffs | 0.15 m | 60 cm wide |
| Sizes 34-50 | edging tape | 11.00 m | 2 cm finished |
| Sizes 34-50 | Ripper divisible | 1 x piece | 70 cm long |
Cutting:
Seam allowances are included - 1cm wide or as per marking clips!
Cut out the pattern pieces from your outer fabric. Lay the fabric right side up. Place the selvedges parallel to the center so you can place the collar on the fold. The pattern pieces should all be laid with the writing facing up. Always align the grain arrow on all pieces in the same direction and parallel to the selvedge of the fabric. Transfer all notches from the pattern by making a 3mm long snip with scissors or chalk and mark the ends of the darts. Note that bust darts are required from size 46 upwards. Notch the seam allowance on the fold, as this is always the center. Markings define the positions of dart ends, pocket positions, and much more. Transfer these either with chalk or pins.


You will need fabric:
- 2x back part opposite
- 2x front part opposite
- 2x sleeves-back opposite
- 2x sleeves-front opposite
- 2x bag opposite
- 2x flap outside
- 2x flap inside

You will need from rib:
- 1x collar in the break
Sewing instructions:
Seam allowances are included - 1cm wide or as per marking clips!
To sew this coat you will need a sewing machine and an overlock sewing machine, or alternatively the zigzag stitch on your sewing machine to neaten the cut edges.
In addition to the description, the colored lines in the pictures show you where a seam needs to be sewn or something needs to be glued.
When sewing, pay attention to the seam allowance included in the pattern. Seam allowances not specifically marked are 1cm wide!
Have fun sewing!
Sizes 46-50 have a bust dart; please sew this according to the pattern.

Start with the two back pieces, place them, With wrong sides together , place the pieces together and close the center back. Neaten the seam allowances together and press them in any direction.

Next, sew the side seams right sides together . Neaten the seam allowances here as well and then press them back.

Sew the shoulder seams right sides together, neaten the seam allowances and press them to the back.

Stitch the piping on the center back over the seam allowance on both sides, close to the edge.

Now you pipe the front edge, neckline and hem all around with the piping.

Now it's time to work on the front pockets. Finish the opening with the overlock...

… and then iron it according to the pattern.

The pockets, as well as the flaps (place the flaps inside out) are piped all around.

Stitch the pockets onto the front pieces using the markings in the pattern.

Add a stitch the width of your quilting foot to secure both layers of fabric…

...then place them right sides together at the markings on the front pieces and stitch the flaps in place using the width of your stitching foot.

Iron them down and stitch through with a stitch the width of your stitching foot, so the seam allowances will disappear underneath.

Take the collar pattern and iron it wrong sides together. Stitch a stitch the width of your quilting foot to secure the two layers of fabric.

You pipe the quilted lower cut edge with the piping.

Place the prepared collar right sides together from the inside against the piping of the neck hole and stitch the collar in place.

Next, you'll work on the sleeves. To do this, place the back sleeve, wrong sides together , on the front sleeve and pipe the seam allowances.

Close the inner arm seam right sides together, neaten the seam allowances together and iron them back.

Place the prepared sleeve , wrong sides together, into the correct armhole and stitch it in place with a seam the width of your stitching foot. Use the notches in the pattern as a guide.

The armhole is then also piped.

You also add piping all around the hem.

Now all you have to do is stitch the zipper on both sides. Use the markings on the pattern as a guide.
Your UNDINE is ready!
If you're stuck or have any questions, please email us at info@schnittmuster-berlin.de. We'll respond as soon as possible.
Have lots of fun with your new designer piece!
Sincerely, your Schnittmuster-Berlin team.